

I have been in a project rut lately. I have had so many things lined up, and I even have all of the supplies for them (so I can't use that as an excuse), but just haven't really felt like getting any of it done. I have been cooking a lot more lately, so maybe that's where my passion has been residing. I finally snapped out of it, and started working like a mad woman.
Hopefully many new posts will follow soon!
So, I am obsessed with picture frames.
I am absolutely drawn to them!
I am in love with three different frames I have "remodeled," and wanted to share their simple transformations with you.
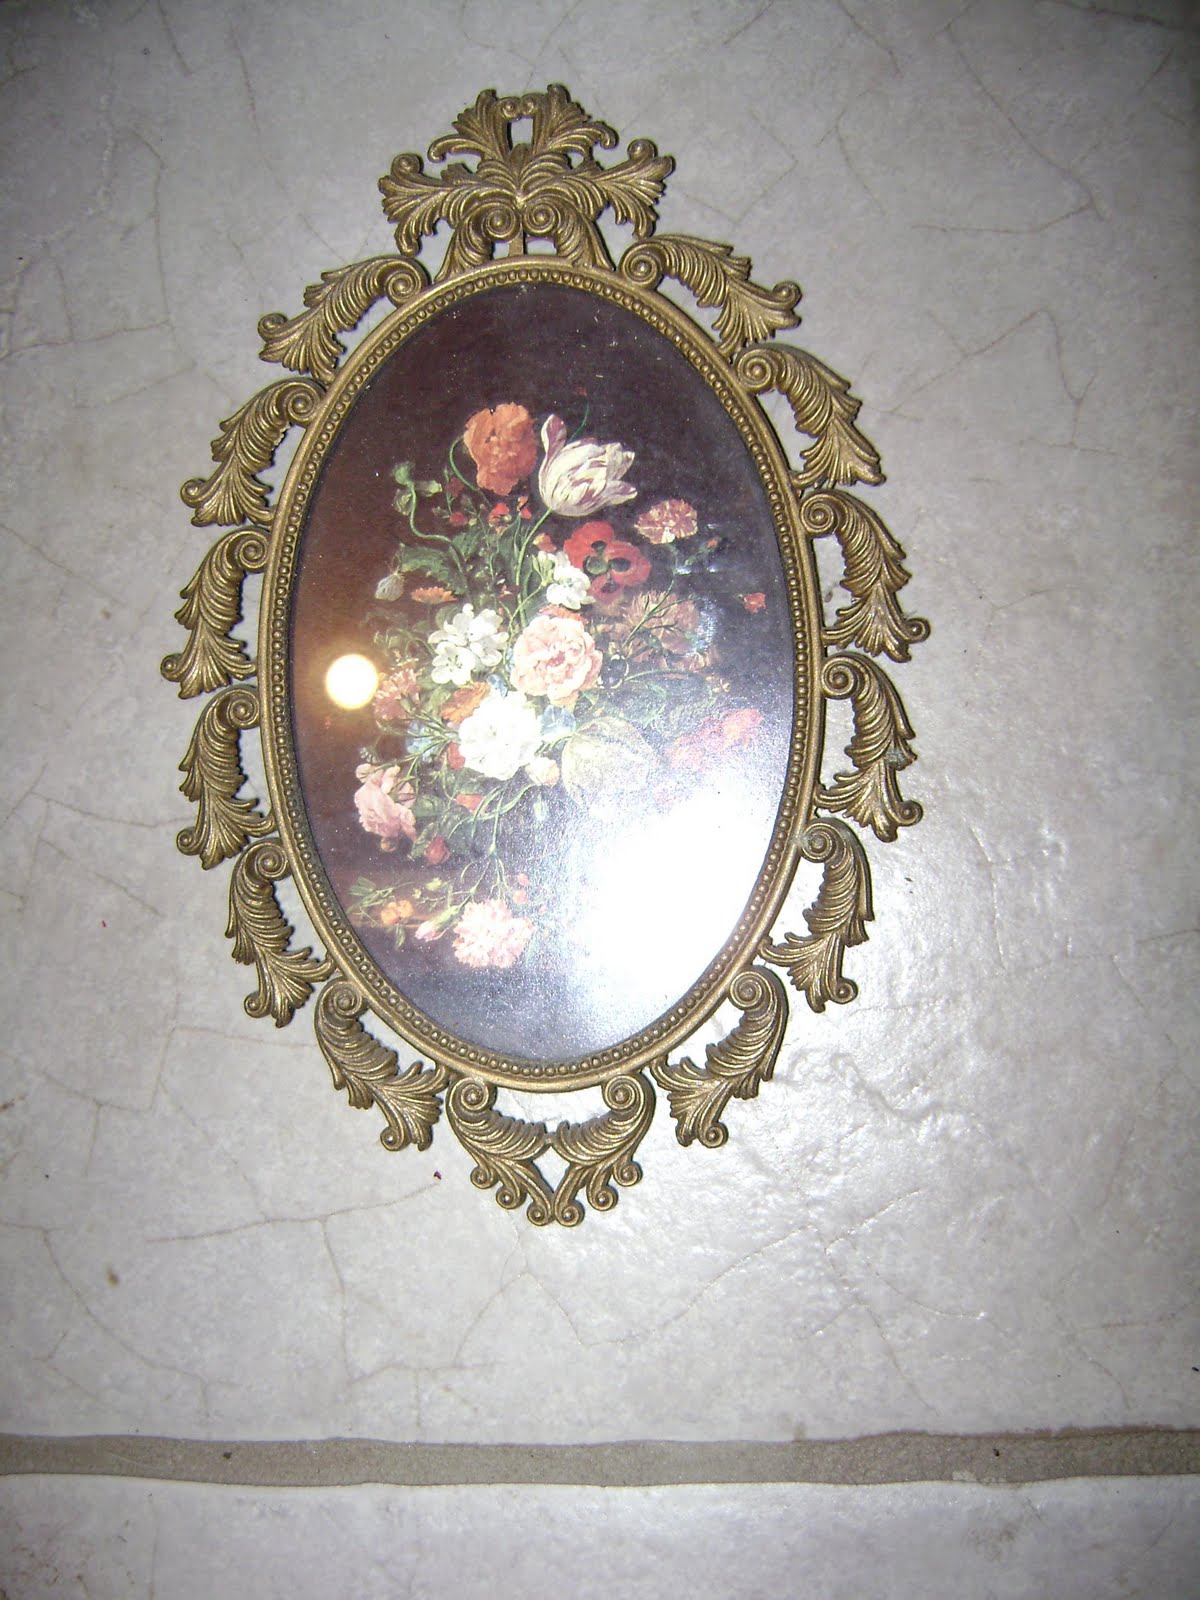
I posted this find from the thrift store months ago...

I knew exactly what I wanted to do with it...
(Sorry, these next photos are iPhone photos.
Get used to it- it's handy.)
I started with removing the backing, and slapping some
Mod Podge on it:

Next, I cut out the infamous zebra paper to fit, and placed it
on top of the Mod Podged backing:

Then, I let it dry, and Mod Podged the top:

I bought a neat little pack of letters at Wal-Mart for like $2. I grabbed out a "J", and sprayed it with red spray paint. I then glued the red "J" in the center of the frame, and voila! The "J" is not quite as big as I wanted it to be on this frame, but I didn't want to take away from the zebra background either. I can live with it.
BEFORE
AFTER
I posted this find from the thrift store months ago...
(Sorry, these next photos are iPhone photos.
Get used to it- it's handy.)
I started with removing the backing, and slapping some
Mod Podge on it:

Next, I cut out the infamous zebra paper to fit, and placed it
on top of the Mod Podged backing:

Then, I let it dry, and Mod Podged the top:

I bought a neat little pack of letters at Wal-Mart for like $2. I grabbed out a "J", and sprayed it with red spray paint. I then glued the red "J" in the center of the frame, and voila! The "J" is not quite as big as I wanted it to be on this frame, but I didn't want to take away from the zebra background either. I can live with it.
BEFORE
AFTER

before you Mod Podge.)
I think I have posted a pic of these before, fresh from the thrift store, but here they are again:

Lovely! :)
I always check the backing before I buy.
These backings are simply screwed in.

So, I used my little screwdriver (well, Zach's screwdriver) and it took me all of 2 seconds.

Here they are laid out and anxiously waiting to be painted:

I didn't include a pic of them after they were first painted. I think it takes away from the finished product. And, plus, I tend to be in a hurry & get messy. I get just a little excited. There's usually more spray paint on the paper than the actual thing
being painted. :)
And, for my favorite part...the Before & After,
showing the finished product:
BEFORE

Hope you enjoy my simple transformations! Hope all is well with everyone, and you're all gearing up for Fall. I am so excited about it!! I even had Zach drag my Fall stuff out of the basement a couple of weeks ago. I haven't set it out yet, but I'm pretty sure
by this weekend, I can say differently. :)


Too cute! I love the contrast of the red and the zebra print!
ReplyDeleteLove what you did here!
ReplyDelete