

Sorry for yet another cheesy post title. I do that a lot...
Also, I am a little behind in jumping on the chalkboard bandwagon, but I'm so glad I have...
This post shows two little projects (yay- finally, a project!) that were started a LONG time ago, but I wrapped them up this week. (My last project post was my craft organization pails that I posted about here.)
I'm crediting my source for the inspiration of this project to A Diamond In the Stuff's chalkboard trays post and my sweet friend Sheena who created a lot of these for her wedding reception. :)
I have been wanting to create a chalkboard for forever...(the draft of this post was actually started on 8/3/11 when I purchased the first tray that I used, if that tells you anything)! Especially with now seeing all the chalkboards that are being created on
design blogs everywhere.
I have always loved chalkboards. I had one when I was little, and it was one of my most favorite things in my room. I would always pretend to be a teacher, and I really got the good out of that thing. It is sitting in my Mamaw Ruth's basement right now- I guess waiting on my little one to use one day. There is still one hanging up in her kitchen too that I used to play with when I was little.
In creating a chalkboard, all you really need is a flat, usable surface and some chalkboard paint. Easy enough. I have seen countless pictures of old mirrors, old pictures and old paintings that are framed and repurposed as chalkboards. These silver trays are usually a dime a dozen at the thrift store, so I took advantage. I posted this one once before on here, right after I bought it (in August of last year):


This silver tray was 50 cents.

I almost always pass these up, just because they're usually really rusted or dinged up, and I don't really feel like cleaning them up. But, this is a great way to breathe new life into these. (I told you guys these would one day be a chalkboard, so I kept my word!)
The hardest part about this project??...Finding chalk! Seriously! (Thank you, Hobby Lobby!)
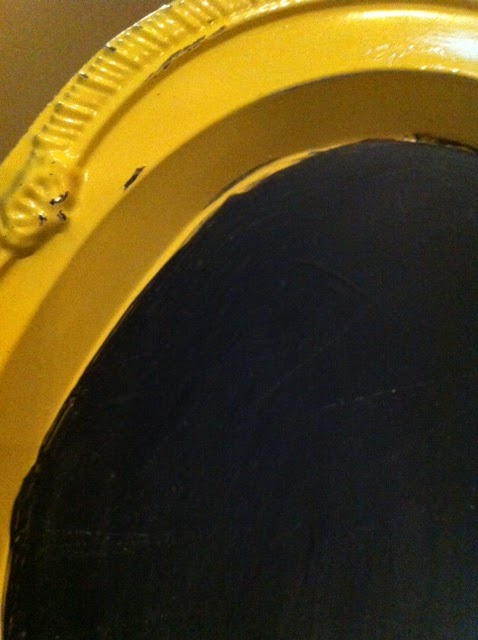
I painted the first one around the frame with a new, funky yellow. I painted it because it was in worse shape than the other, and I wanted a little contrast between the two, if I end up keeping them. The second one, I just cleaned the frame, and left as is in silver.
Chalkboard paint...

Spray painted first tray...

Detail of distressing on first tray...


After the first coat...

After two more coats...


Conditioning with chalk...

First tray...
BEFORE
AFTER

(In the above photo, you can also see my little blue bench that is being finished up. Just have the lettering to go, and I will post the Before & Afters!)

Second tray...
BEFORE
AFTER

Trying out different messages...


I think I have decided to put the first tray to use in my new crafting area- I will hopefully be moving things to the basement TONIGHT!- to use as my craft checklist. The second tray has found a home in our kitchen. :)


Cute projects. And, I have two trays. May be a couple chalk board trays in my future. Thanks for sharing.
ReplyDeleteIm now following you. Please come visit me at PICKINandPAINTIN.blogspot.com. THANKS.
These are awesome, I really want to do the chalkboard thing for our seating plan at the wedding, but a nice mirror or photoframe even from a charity shop costs a fortune. I will be on the look out for these trays xox
ReplyDeleteSuper cute redo! I love the yellow frame, and your blog template is really pretty too :)
ReplyDeleteHugs, Tanya
http://twelveoeight.blogspot.com/