I am ready for a break from reality (which means I am so pumped for this long weekend coming up), so I thought I would post on this project that has long been in the works. Truth be told, it has actually been completed for months now- I am just now getting around to posting on it.
Life has just gotten in the way since then. :)
So, I have not-so-recently repurposed three little ottomans that I am so excited to share with you! The only money I have in these are the small amount that I paid for the fabrics & paint for the legs. The most expensive fabric was on this first one...

....and it was only about $20 for a few yards, so I still have extra to use on something else. The ottomans in their "Before" conditions were from my grandmother's house. She actually had three of these things, but I unfortunately don't even have much room for one right now...but I still squeezed it into the house though, rest assured. :)
So, the three ottomans were FREE to me!
This shows two of them in their sad little "Before" state...

I started with an orange ottoman, just like the one pictured above. I knew I did not want the orange in our house (wow), and it was in poor condition anyway, so it had to be transformed.
I headed to Wal-Mart (this was the same trip where I got the leopard fabric for my 30-Minute Vanity Seat Revamp... a LONG time ago). I am in love with this fabric!!
I headed to Wal-Mart (this was the same trip where I got the leopard fabric for my 30-Minute Vanity Seat Revamp... a LONG time ago). I am in love with this fabric!!
I borrowed my granddad's staple gun, and went to work.
This is yet again another project that I've had ready to go for a while, but waited so long to start on it. And again, I wondered why I waited so long, because it was an easy, quick project. I then waited even longer to post on it, mainly because one of them was a Christmas gift.
I surprised myself because I actually took a lot of step-by-step photos of the process.
Here they are:
Here they are:
I laid the fabric out on the floor so I could work with it better...

I had an adorable little helper while I was in the floor too :) ...

I just cut the fabric to size & lapped it over, securing it with a staple gun at far intervals...

The edges were the only tricky part. I just patiently (ha, yeah right) folded them neatly & tucked, also securing it with a hefty staple from the staple gun.

This shows the two sides stapled...

Now, the ottoman was recovered, but I wasn't done yet. I wanted to really secure the fabric, so I lined each fabric end with hot glue to fully attach it to the underside of the ottoman...

I was proud of the lines I cut in the fabric. Not too bad for the little experience that I have with this...
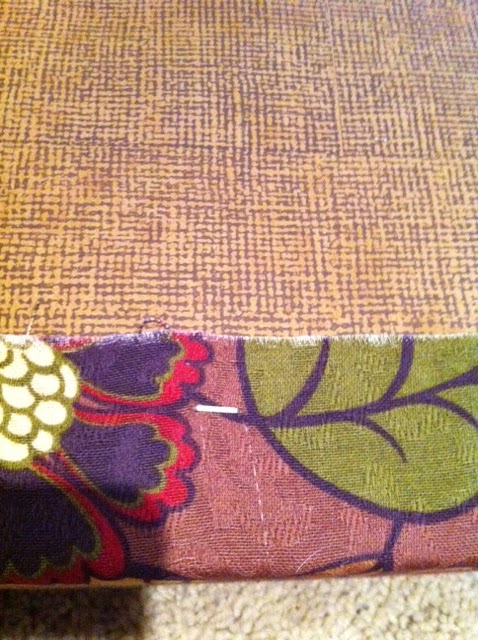
(I'm telling you, I took a lot of pics of this project...sorry- if you're getting bored, scroll to the bottom for the Before & After) :) ...
I wanted to show one of the legs, so you could see how dingy the brass was...

I lathered each one up with some Brass-o (great stuff!), and now look...

I thought they needed a little something more. So, I decided to paint a few coats of metallic gold...

That helped to shine them up alot. I must have stopped taking pictures by then, because I didn't have any showing that.
Now, to the Before & After of the first ottoman...
BEFORE
AFTER
Also, here's a peek at the other two I finished. The black & white zebra print went to my mom as one of her Christmas gifts (as I mentioned earlier), and the brown zebra is MINE. :)


It is amazing how just a quick clean-up & a simple fabric change can really transform a piece.
I am toying with the idea of adding nailhead trim to mine, but I haven't made myself try it yet. I have already purchased the nailheads, so we'll see. :)